Tip: Know what your Funder Scheduling Rules are for "Appointment Exceeds Authorized Hours"
If your company has selected "Do Not Allow" then users will not be able to schedule more than the authorized units available, if authorizations are set up to distribute by 'service'. *Please note that setting authorizations to distribute by 'authorization' does not currently adhere to the exceeding authorized hours rules.
Authorization Summary Details:
Step | Description | Helpful Information |
|---|
1. Navigate to the authorizations section of the client's profile then select the Add Authorization+ button
| | Client must have a funder with service line added For insurance type funders, a diagnosis is also required
|
2. Select the answer to the question Has the authorization been received? | Yes: Pending: Not Needed:  | Authorizations marked as 'pending' allow scheduling to occur against the auth, but the appointments on the scheduler will display in Orange to indicate the pending status Appointments completed with a pending auth will also show on the Billing report with this Pending status in the Validation column: Once the client's authorization is updated to 'yes' for received, then all of the appointments will update to green in color on the scheduler and there will no longer be the validation warning in the Billing Export.
|
3. Enter Authorization Details | Type in the Authorization Number Enter the Start and End Date range of the authorization If an authorization is Pending: You can input the dates requested from the funder If an authorization is Not Needed: You can input dates for a recommended re-evaluation, for example.
Select the Rendering Provider - This will dictate what you see in the Rendering Provider Name and Rendering Provider NPI # columns in the Billing Export Agency: Will generate only group information in columns AP - AS of the billing export report Provider Assigned to the Appointment: Will list the provider who physically performed that service during that session The name of the supervising BCBA: Will list the selected BCBA as the rendering provider despite if another employee performed the service
Optional: Referring Provider  | The Funder, Service Line and Diagnosis will auto populate Rendering Provider selection will be dependent on your funder billing requirements outlined in your funder contracts For a referring provider to populate in the drop-down options, they will first need to be added to the client profile under the Referring Provider tab. For more information on Referring Providers, refer to Managing Referring Providers.
|
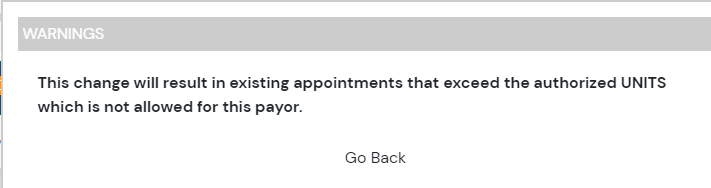
4. Select your Distribute Units preference | By Service: Used if you receive an authorization that puts parameters around how many units can be used per billing code (Recommended) By Authorization: Used if you received a lump sum Authorization that does not specify hours by service. You will be prompted to enter the Total # of units for all services (Not recommended as Rethink cannot prevent exceeding authorized hours if units are distributed by authorization)
 | It is recommended to know what your Funder Scheduling Rules are for "Appointment Exceeds Authorized Hours". If your company has selected "Do Not Allow" then users will not be able to schedule more than the authorized units available. Tip: If you want to have more control over preventing staff from scheduling more hours than allowed/needed, then it would be recommended to Distribute Units By Service and enter in the Authorized Units.
|
5. Add Service or Add All Services | Add multiple services to the same authorization by clicking Add Service to add individually, or Add All Services to add all service names under the client's funder Optional: The Scheduling Goal allows you to target a specific intensity of service that is different from what has been authorized. For example, if the family does not accept all of the authorized hours
 |
|
6. After adding in services, Save the Authorization | |
|
Authorization Dashboard
Steps | Description | Helpful Information |
|---|
Viewing Authorizations | You can view authorization details from the client authorization home page. 
| Please note: When viewing the authorization details from the client authorization home page the system displays the amount in "hours" however the system is still calculating the units and displays units in the billing reports If you do not see the authorization, that could be because it either starts in the future or has expired, navigate to the top right of the screen where it says Auth Status and switch this from "Active" to "All"
|
Editing, Uploading, Copying, and Deleting Authorizations |  Edit: Allows you to adjust values on the current authorization such as authorized units, dates, rendering provider, etc.
Upload: Copy: Delete: If an authorization has not be utilized and scheduled against, you will be able to delete the authorization  . If scheduling has occurred against the authorization, you would be unable to delete and the recommendation would be to term the authorization by adjusting the end date.
| |
Need Help?
Contact us support@rethinkbh.com