Understanding the Set Up Components for a Client Profile
Certain features of a client profile will impact your ability to schedule in invite caregivers to access profiles, leave client notes, and create Funder Reports within Rethink. The process below outlines the required steps to complete a client profile in preparation for schedulingthe aforementioned items.
Step | Description | Helpful Knowledge | |||
|---|---|---|---|---|---|
Adding a Funder(s) | From Clients, Select your client of choice, and Click on Funders from the menu on the left. Click the grey bar to Add a funder or click View if already added: 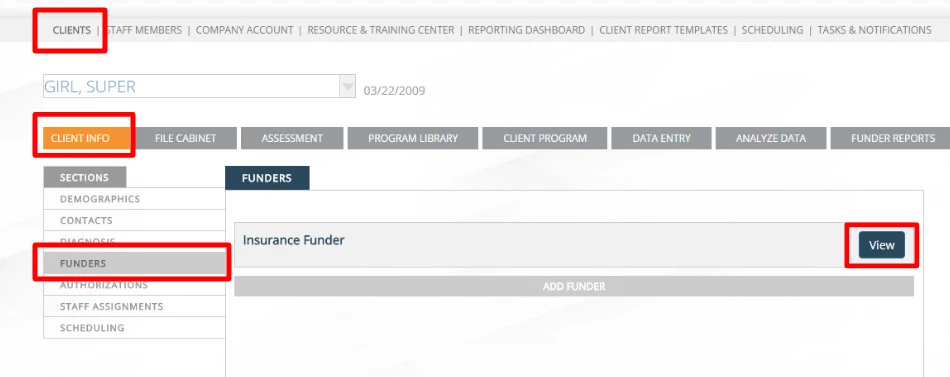 Edit the Funder Information. Select the appropriate Service Line(s) and complete all required fields ( * ): 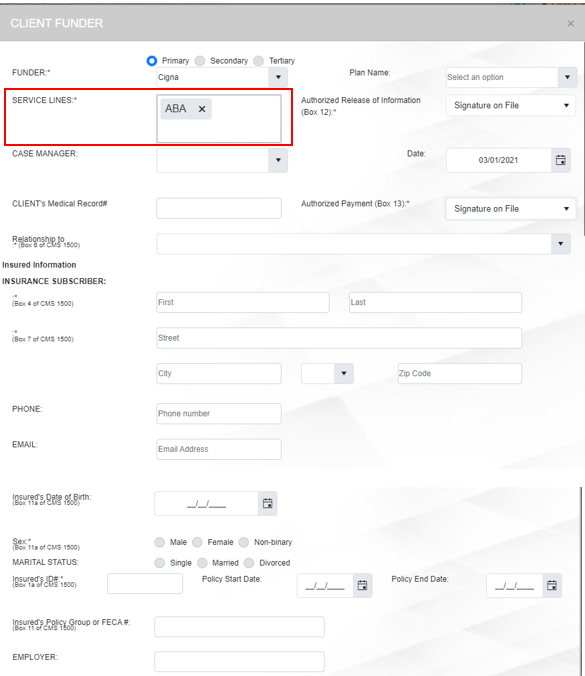 Optional: add in client benefit information  Click Add when completed. |
| |||
Optional: Adding Diagnoses | Click on Diagnosis from the menu on the left, then click “Add Diagnosis”. 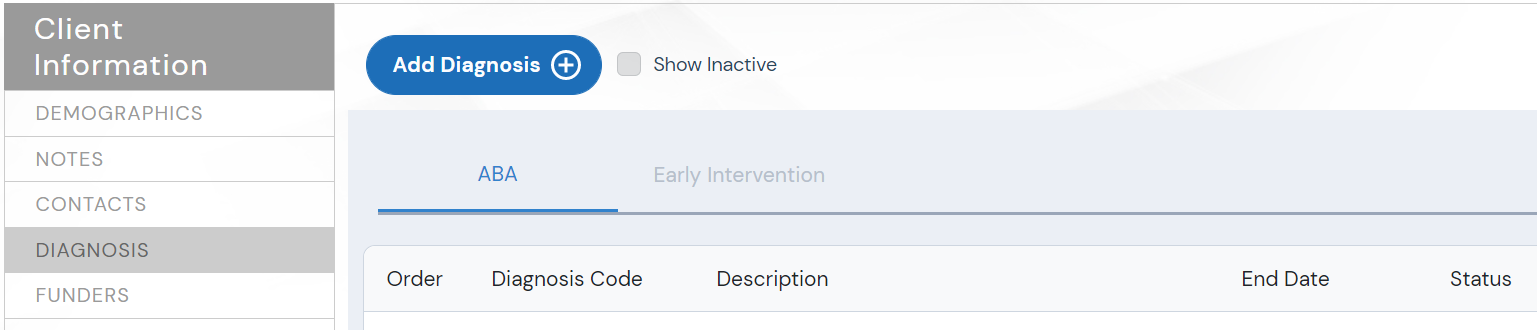 On the Diagnosis pop up, you can search by description diagnosis code, or enter a custom code 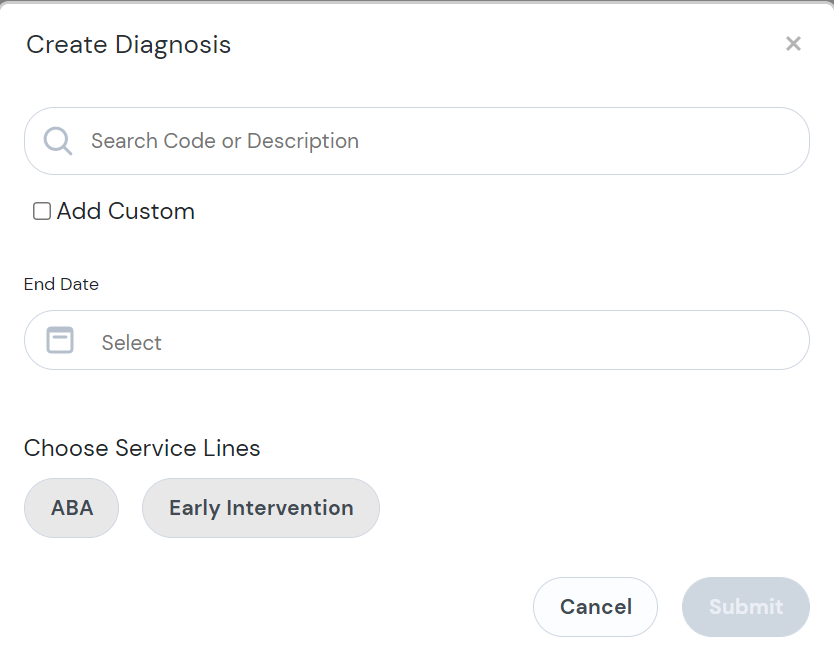 Once you have entered a diagnosis name/code and selected at least one Service Line Click submit to save the diagnosis to the client. 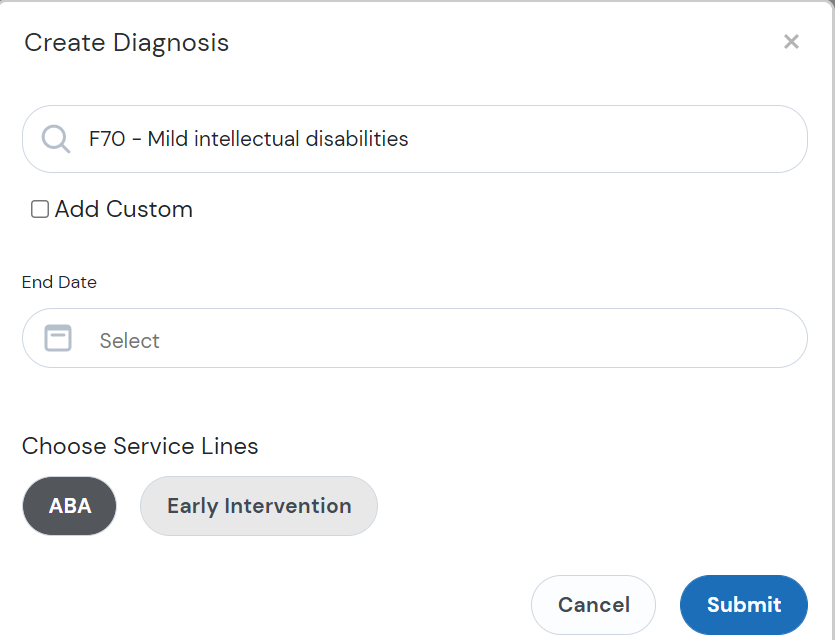 |
| Click on Authorizations from the menu on the left, then select the 'Add New Authorization' button for the correct Funder and Service Line  Indicate whether an authorization has been received and then enter the authorization details, click Save.  |
| |
Optional: Availability | Click on Availability from the menu on the left. In this tab you can set up the times that the client is available.  Days should be checked to indicate availability and Start/End times should be entered. The times that are set as UNAVAILABLE will appear grey on the calendar and you will get a warning if an appointment is being booked during this time. In the example below Saturday and Sunday appear as grey because the client is unavailable those days.  |
| Optional: Contacts | To add in Contact information such as a Parent or Guardians, select Contacts from the menu on the left. Then click Add New Contact: 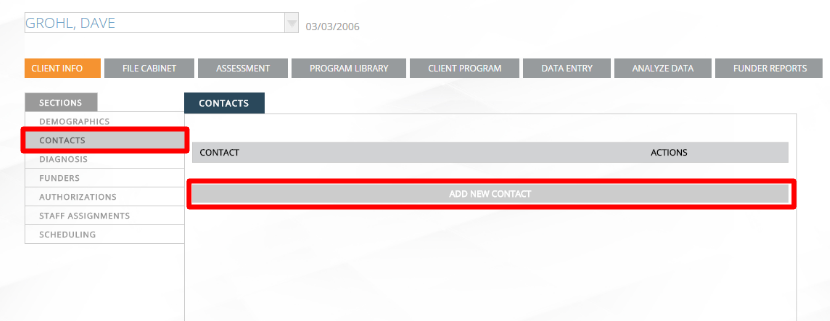 Enter information in the required fields. For the purpose of Creating a Parent Log in, entering the contact’s email is necessary. Once you enter the contact’s email, options for the parent portal will show up at the bottom of the pop-up. Check off that box if desired and click Add: 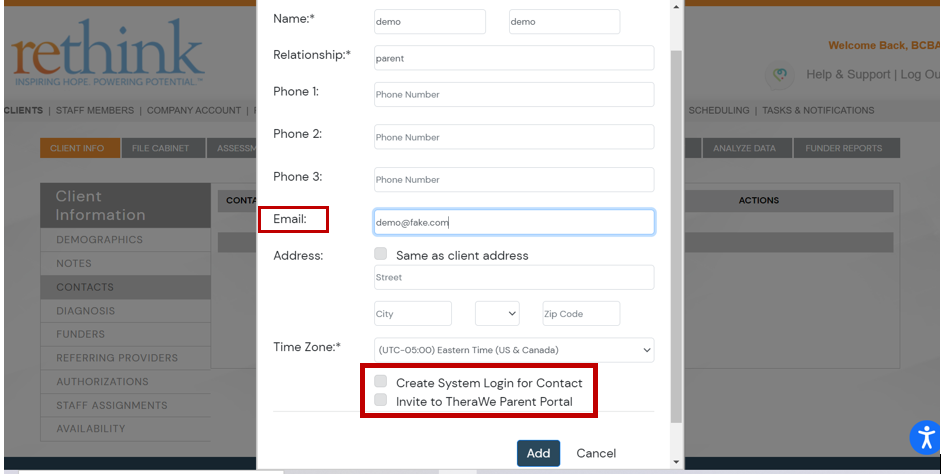 |
|
Optional: Client Notes | Click on Notes from the menu on the left. 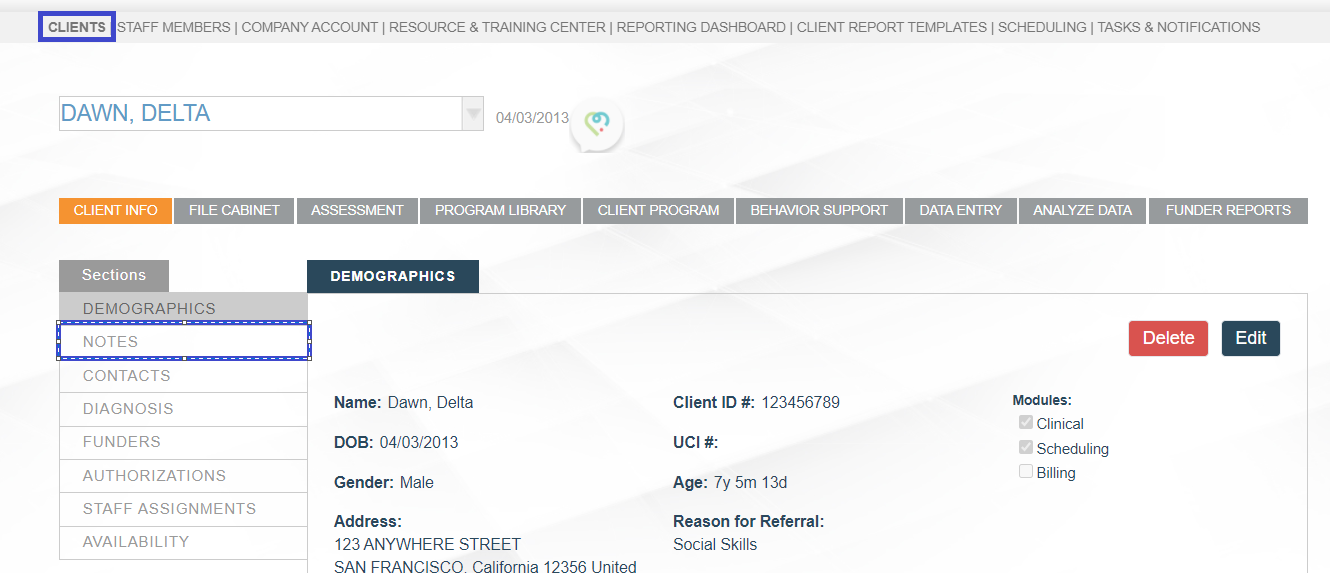 Click “Add New Notes” to create a new Client Note. 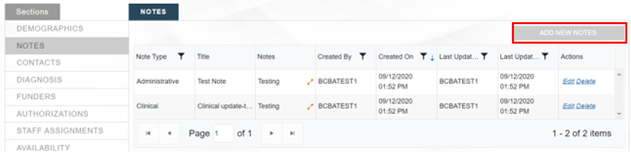 Complete the following Required fields:
THEN Click Save   |
| Optional: Referring Providers | Click on Referring Providers from the menu on the left.  Click Add New to select a referring provider from the Company Account list, search by NPI number, or add in manually. Select the default option next to your desired provider.  Inactivate Referring Providers in Client Profile by hovering over the active status to reveal options to edit or delete the referring provider. Under the edit field you will have the option to inactivate.  
|